Car Detailing for Dummies | A Detailers Guide on How to Wash A Car
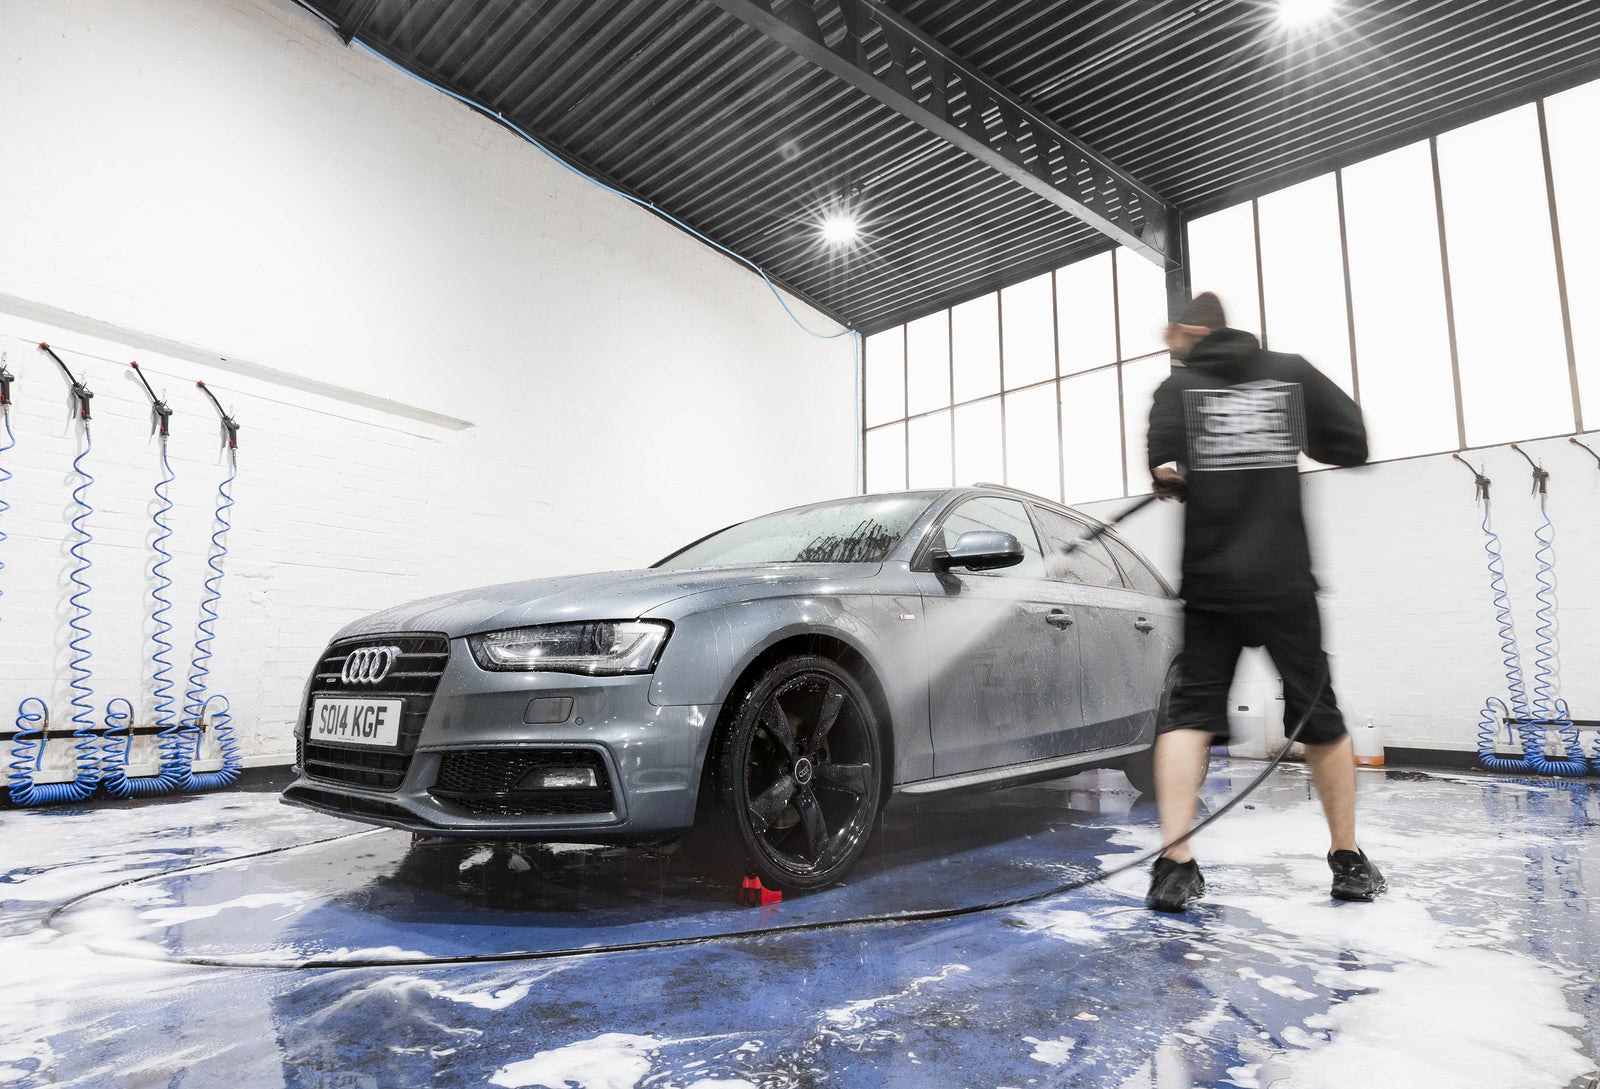
The Maintenance Wash is the key foundation to keeping your car looking it's best. Whether you have owned your car for 5 minutes or 5 years the idea is the same - removing dirt and road grime from your cars exterior without inflicting damage.
Read on this step-by-step guide to learn how to wash a car and keep it looking it's best in the safest way possible, as well which products and tools we recommend and when to use them.

Step 1: Pre-Rinse
First things first, it's always a smart move to pre-rinse the entire vehicle exterior. This can often be overlooked when it comes to safely washing your car, however a quick pre-rinse is a great way to remove the worst of the loose dirt and grime from the bodywork and wheels.
Not only does this help to reduce the risk of inflicting any damage during the wash, but it will also improve the effectiveness of your pre-wash and snow foam chemicals. By rinsing away the loose dirt first, when it comes to using your cleaning products they will have an easier time getting to work where they are needed most.
Be sure to flush out any possible areas where dirt can build up, such as the door shuts, wing mirrors, fuel flaps, panel gaps and wheel arches.

Step 2: Arches, Wheels & Tyres
Arches, Wheels and Tyres are the logical place to start when it comes to cleaning your car, with these being the areas that typically accumulate the most dirt and road grime build up on a daily basis. We always start with the wheels in order to prevent any transfer of dirt onto the bodywork later in the wash stage.
You should have a bucket dedicated specifically for cleaning your wheels, since these are the areas of the car with the heaviest dirt and grime build up, it is important not to cross contaminate any wheel tools, or potential break dust with your main paintwork buckets. A wheel bucket doesn't have to be anything fancy, but you should use a grit guard to prevent any tools sitting in the grime that builds up at the base of the bucket. We recommend using a bucket that is a different colour, or can be easily identified as a wheel bucket so as not to mix them up. Simply add a couple of drops of any car shampoo such as Duel Bahama Blue to your bucket (5ml is usually enough) and fill the bucket with water.
When it comes to cleaning it is recommended that whenever possible you start from the top and work downwards so dirt is always traveling towards the floor and not back over a previously cleaned area.
Arches
We start by using an All Purpose Cleaner such as Bilt Hamber Surfex-HD in the wheel arches to help break down the dirt. Pair this up with an Wheel Brush designed for Arch Cleaning such as the Go EZ to agitate the product throughly before rinsing the arch out to remove the dirt.

Wheels
You've already pre-rinsed your wheels so now its time to clean them. It is important here to use a dedicated alloy wheel cleaner that includes a small dilution of iron fallout remover to help with break dust build up such as Gyeon Iron Wheel Cleaner.
Spray your wheel cleaner of choice liberally onto the face and barrel of the wheels and allow this to dwell for a couple of minutes. Follow this up by agitating the product, we recommend using a Wheel Barrel Brush such as the Big EZ to reach the entire barrel of your wheels and a microfibre mitt such as the CarPro Wheel Mitt to clean the faces. It is extremely important to use a separate mitt for your wheels than the one used for your paintwork, so as not to transfer any break dust onto the vehicle body.
For both your barrels and faces, start from the top and work downwards to prevent spreading dirt back over a cleaner area. Be sure to work into any possible crevices in order to remove all of the dirt and break dust build up. Finish up by rinsing the wheel thoroughly to remove all of the product and road grime, before inspecting the wheel for any areas missed.


Tyres
This is another step that is often overlooked, cleaning your tires within the wash process ensures any road grime is removed as well as old tyre dressings and the discolouration as a result of these. You can find multiple tyre cleaners on the market, such as Duel Autocare Clease which is one of our favourites.
Simply spray your product around the tyre wall and scrub with a stiff tyre brush before rinsing. Repeat this process until the suds produced are mostly white in colour. One final rinse of the entire wheels, arches and tyres and thats job done!

Step 3: Pre-Wash
This stage of your wash process can be considered the most important as you will be removing the most harmful contamination from the paintwork, by getting this right you are minimising any risk of dragging dirt around your paint with a wash mitt.
Pre-wash is a fairly simple process that anyone can carry out. First of all you will need a Pre-Wash product such as ValetPRO Citrus Pre Wash, while some of these products may come with a trigger and some may not, it is always important to dilute the product with water, dilutions vary but rule of thumb is to dilute 1:10 for lightly soiled vehicles and 1:5 for heavy soiling.
Example: 100ml Pre Wash + 900ml Water
To apply you can opt for a trigger bottle such as an IK Multi TR or a handheld sprayer such as the IK Multi PRO if you prefer the convenience of a faster application. Spray the product liberally over the entire vehicle, allow to dwell for 2-3 minutes and rinse thoroughly with a pressure washer (or hose pipe if this is all you have access to).
After rinsing off your Pre-Wash, this is a great time to inspect of any stubborn bugs that may have been left behind. If required, take a bug remover spray such as our favourite; Gyeon Bug and Grime. Spray the product directly onto the bugs you are trying to remove and allow to dwell for 2-3 minutes before rinsing away thoroughly.

Step 4: Snow Foam
Similar to the Pre-Wash Stage, Snow Foam is designed to remove heavily embedded dirt and contaminants before any contact wash. Snow foam when mixed with water and applied with pressure through a Snow Foam Lance such as the Vertool Hydro 360, reacts to cover the vehicle in a dense blanket of foam that lingers on the vehicles surface for longer than a pre-wash, extending the duration in which it is breaking down road grime and slowly pulling it from the surface.
One of the most popular Snow Foams in the UK (and for good reason) is Bilt Hamber Auto-Foam, for unprotected cars this is probably the best bang for your buck. However if you have had PPF or a Ceramic Coating applied, you are much better suited opting for a pH Neutral Snow Foam such as Gyeon Q²M Foam.
Again, dilutions will vary between products but typical dilution for Snow Foam is around 10:1. Add 100ml of Snow Foam to your Lance and top up with around 900ml of water. Apply evenly via the lance across the entire vehicle and allow to dwell for around 5 minutes before rinsing the entire vehicle from top to bottom.

Step 5: Shampoo Contact Wash
Next up is your contact wash. This part of the process most people should be somewhat familiar with, however there is certainly still a right and wrong way to approach shampooing your car.
First of all, we always recommend using the 'Two Bucket Method', by this we mean using two separate buckets for shampooing your car, that both contain grit guards similarly to your wheel bucket we mentioned earlier.
In the first bucket you want to add 2-3 cap fulls of a pH neutral car shampoo such as Gyeon Bathe, this will be used as your 'wash' bucket. In the second bucket simply fill it with water, this will be used as the 'rinse bucket'.
To wash the vehicle, take a clean wash mitt such as a ValetPRO Advanced Microfibre Wash Mitt, dip it into your rinse bucket and give it a squeeze to remove any possible loose fibres before dipping it into the shampoo bucket and straight onto the vehicle. Starting from the roof and working down the car one panel at a time, work the wash mitt in straight lines with little to no pressure, changing sides after each panel. Once both sides have been used, bring the wash mitt from the car and into the rinse bucket, thoroughly agitate the mitt to remove any shampoo before going back into the wash bucket. Repeat this process until the entire vehicle body has been cleaned.
Finally, take your pressure washer or hose and rinse the entire vehicle starting from the roof.

Step 6: Protection
Now that you have washed and rinsed your car you could dry it off and call it a day, however we prefer to take one more step to add some short-term protection and help make ease of the next couple of washes.
The easiest and most efficient way to approach this is with a Ceramic Sealant spray or foam. Now there are two ways to approach this and it all comes down to preference - spray bottle application or lance application.
If you're going down the spray bottle route then Gyeon Wet Coat is your winner - simply spray the product onto a wet vehicle before drying, one panel at a time, using around 4 spritz's to a panel. On a cooler day you may be able to do half a car at a time, but in warmer weather we recommend splitting it into smaller sections. Simply spray on and rinse straight off for up to 3 months of water and dirt repellence or 'beading'. Never allow the product to dry.
If you prefer a lance application, there a few different products we would recommend, one of which being Duel Autocare Flex Polymer Sealant. Dilute 5ml of product into half a lance full of water, and apply evenly across the entire vehicle. Follow up by rinsing the vehicle thoroughly and thats job done. With Duel Flex you can expect up to 8 weeks of protection.
With both of these options you don't need to be using the product as part of every wash, depending on your mileage, every 8-12 weeks should be sufficient. However you should notice when the 'beading' effect is dwindling and know its time for a top up at the next wash.

Step 7: Drying
Now your car is clean and protected, it's time to remove any water that remains. For this we recommend taking plush microfibre drying towel such as a Mammoth Double Sided Triple Twist.
Take your towel and start from the roof, work the towel along the vehicle in straight lines with no pressure, as it glides along the vehicles surface it will collect any water that remains. We start with the roof, working down the windscreen, bonnet and then onto the sides and bumpers.
When it comes to drying wheels and hard to reach areas, you can use a smaller plush microfibre towel, a Blo Air Dryer - or a combination of both. Although the Blow dryer is certainly an optional tool, they make for the best way of removing water from hard to reach areas such as wheel nuts, grilles and panel gaps.
